Understanding the Causes of Warping in 3D Printing and How to Prevent It
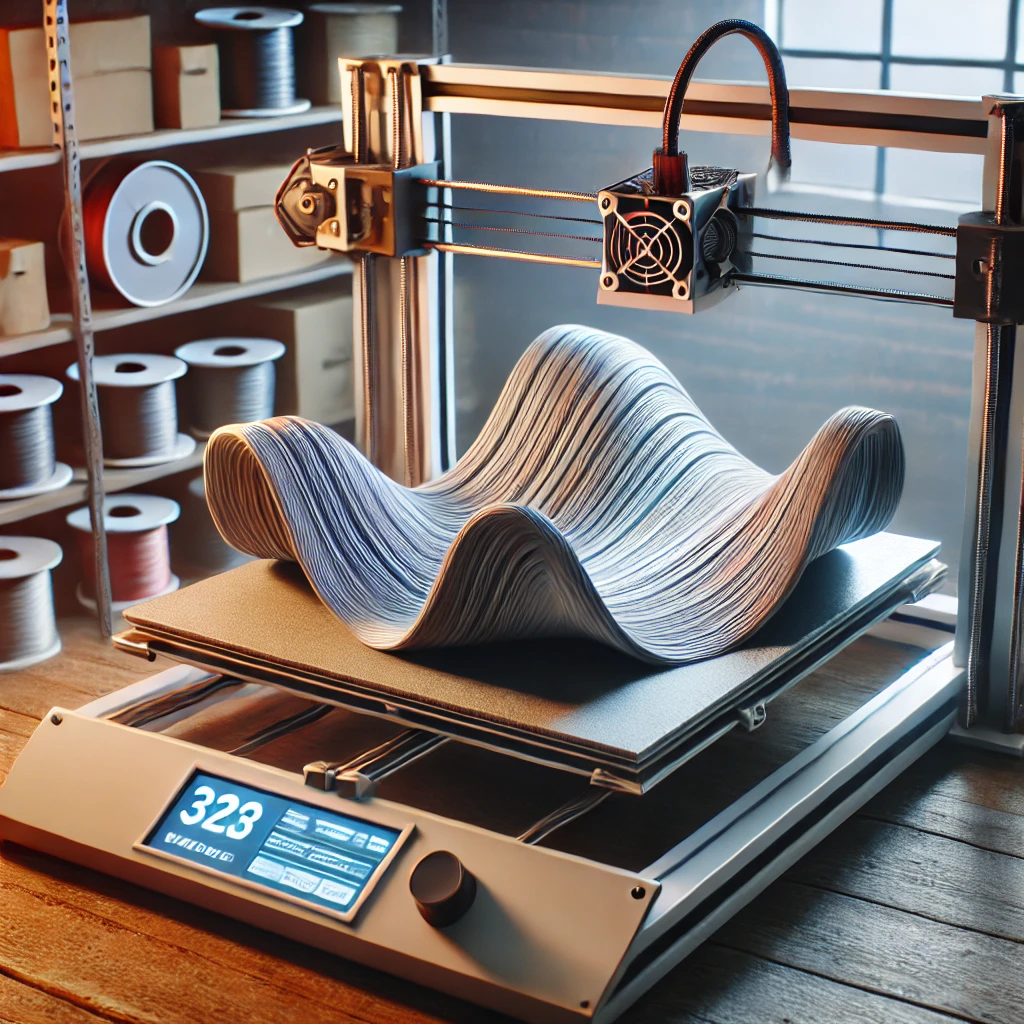
Warping in 3D printing is a common problem, particularly in Fused Deposition Modeling (FDM), where the edges of a print curl upwards, often leading to failed prints. Several factors contribute to this phenomenon, and while bed adhesion is usually the first aspect people consider, the issue often stems from material contraction during the cooling process.

1. Material Shrinkage and Contraction
One of the primary reasons for warping is the contraction of filament material as it cools. As [David Malawey] explains, each layer of filament shrinks slightly as it cools, and this contraction is more pronounced in larger prints. As the layers build up, the stress caused by the shrinking material accumulates, particularly at the edges of the print. Over time, this stress can cause the edges to pull upwards, leading to the classic curling or warping effect.
2. Layer Accumulation and Stress
With each new layer added, the stresses from the cooling process increase, particularly along the longer edges of wide prints. As a result, the cumulative force pulls the print edges upwards, causing the print to peel away from the build plate. This phenomenon becomes more significant with larger or wider prints, where the longer edges have more surface area to contract, thus increasing the amount of warping.
3. Bed Adhesion Isn’t Always the Issue
When warping occurs, the natural assumption is to blame poor bed adhesion. Many users will adjust bed temperature, clean the build plate, or add adhesion aids like brims or rafts. While these can sometimes help, they don’t always solve the underlying problem because the real cause is often the stress within the material, not just the adhesion to the bed.
4. Design Considerations to Minimize Warping
To mitigate warping, one of the most effective strategies is to address the issue at the design stage. By reducing the length of large, flat sections and minimizing sharp corners, designers can reduce the stress that builds up in the material as it cools. Additionally, adjusting the print orientation to minimize the contact area with the bed can also help alleviate the curling effect.
5. Conclusion
Warping in 3D prints is largely caused by the contraction of material as it cools, and while bed adhesion is important, it is often not the sole culprit. Understanding how cooling and material contraction affect your print, and making design changes to accommodate these forces, can significantly reduce warping and lead to more successful prints.


